Yesterday I posted this render to Gamepad. It came with a bit of a disclaimer and was put behind the sensitivity warning shield.
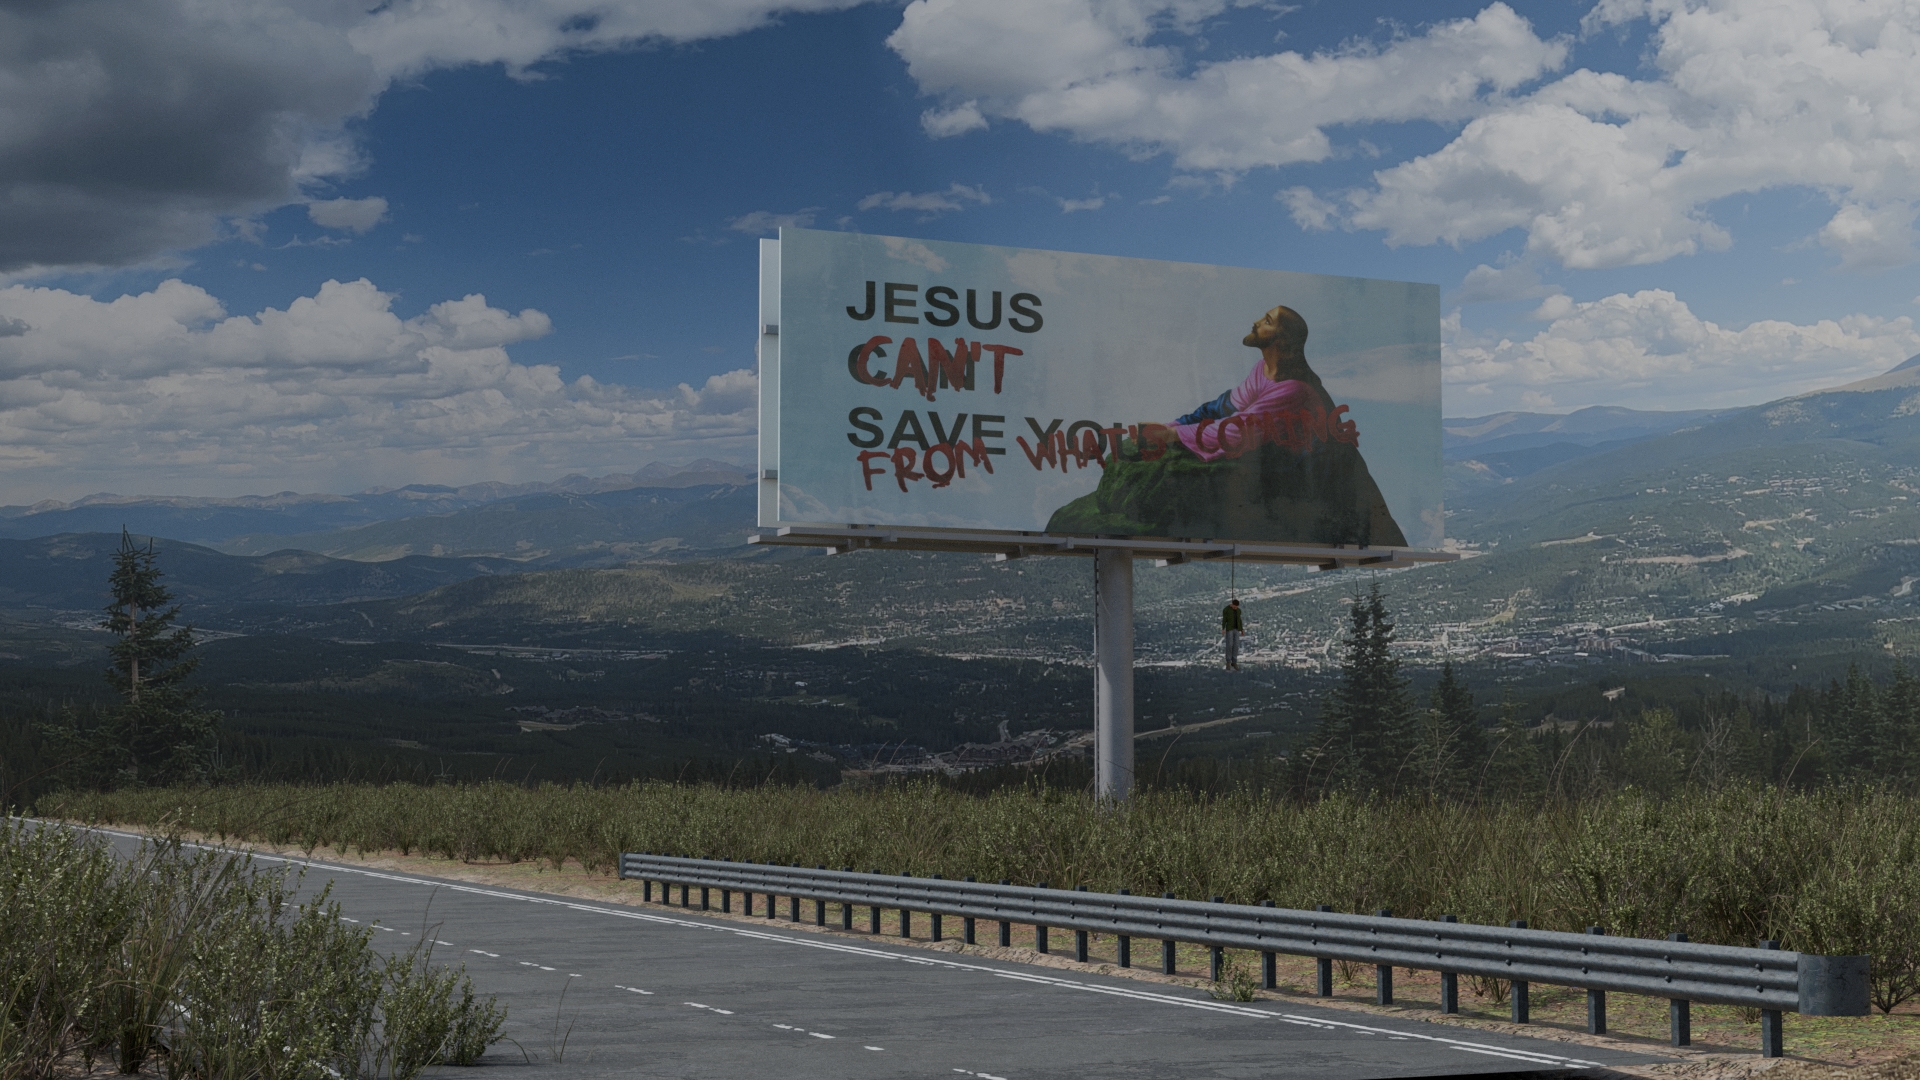
I think the reasons are obvious. In my disclaimer, I wanted folks to know that this isn’t an indication of my mental state or anything. As stated in the preamble post, a lot of the Blender ideas I’ve been having lately have centered around concepts sourcing from games like The Secret World or Delta Green, or dealing with other general “Eldritch Horror” or “SCP” themes, and this scene was one that just suddenly came to the fore one night when I was thinking about options for my next modeling project. Since my focus on hard-surface sci-fi objects wasn’t really inspiring me lately, and because of my recent revisitation of game videos and video editing, the idea of “narrative” imagery has become my modeling driver. This, in combo with my love of all things “weird”, kicked my brain in the butt with this concept as I was trying to fall asleep earlier this week, and so I set about to create the scene in Blender.
Step 1: The Ground
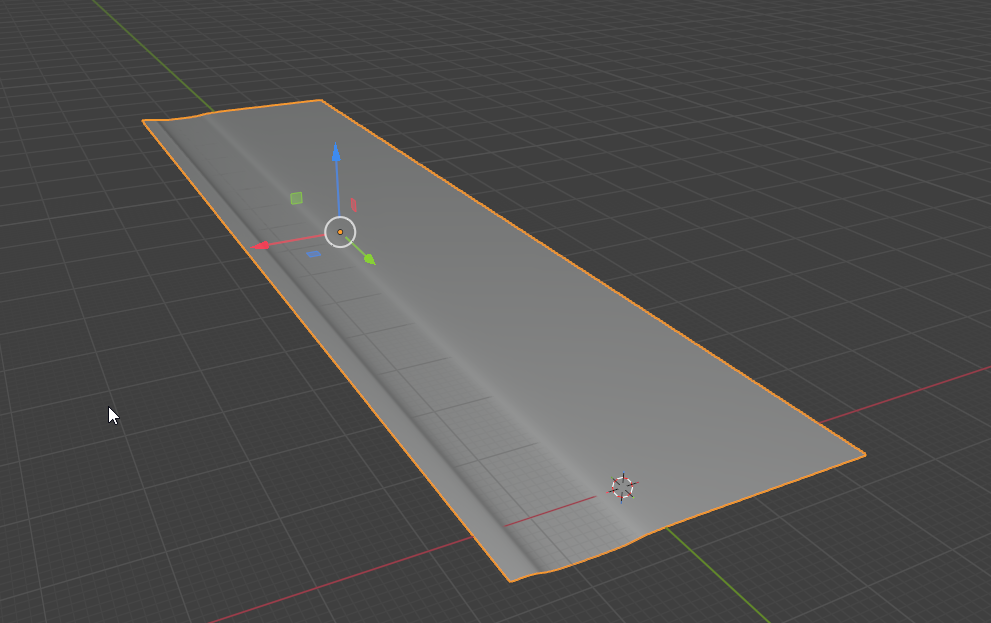
So, ground planes. They’re trickier than they look unless what I’m looking for is an internal floor. Outside ground planes are the worst because no outside ground is ever completely flat. I investigated a few options here. Knowing I wanted some mountains in the background, the first idea was to integrate this plane with output from World Creator but that quickly got dropped because I didn’t want to spend most of my creative time re-learning World Creator. Plus, it would have been overkill. Second option was to try A.N.T. Landscape within Blender, but that was also more fiddling than I wanted to spend time with. I briefly tried subdividing the plane and using proportional editing to pick at vertices to get a slightly uneven look, but that didn’t work well either. So I faked it.
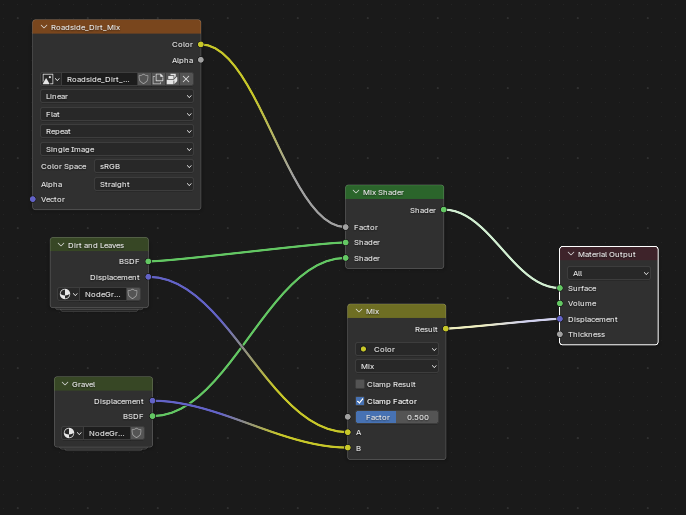
I’m sure there are hundreds of other ways to do it, but in the end I pulled down two textures from BlenderKit: a dirt and mud texture, and a gravel texture. I had to C&P the nodes into a third material, because I needed to use texture painting to blend the gravel with the dirt where the dirt and road met. I increased the displacement of both textures which destabilized the ground just enough to make it not look like a flat, smooth plane.
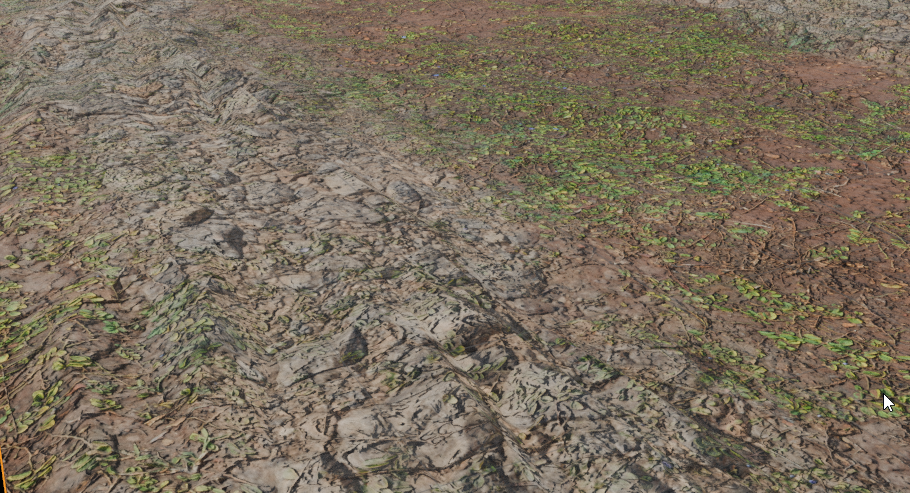
The only real issue here is that because the plane is so large, the textures tile from the road to the back of the plane. Thankfully, I took advantage of Blender 5.0’s new features to add some ground cover so the viewer doesn’t really see this repeat.
Step 2: Foliage
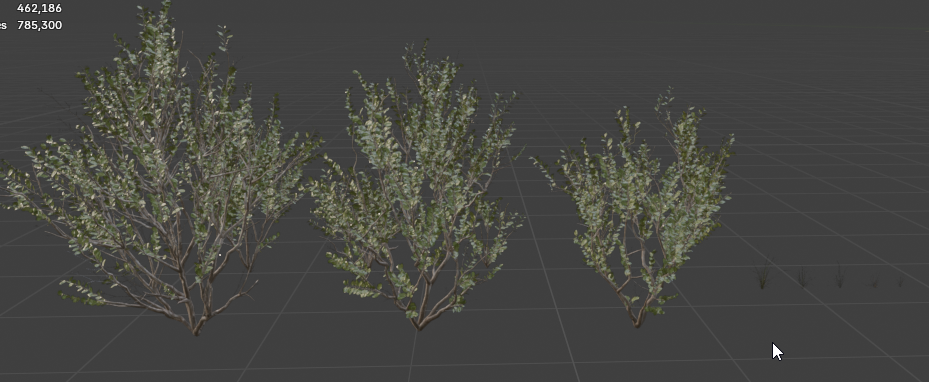
My original idea was that the billboard would be situated in a wheat field, evoking Middle America where these kinds of religious billboards are often found. I bought a pack of wheat stalks from CGTrader, but didn’t end up using them because they crashed Blender when I tried to instance them so instead I used some grass models from the PolyHaven asset packs I have access to. I had to scale these up – especially the little grass models on the right — to get more of a scrubland look that might be found in the foothills of places like Colorado.
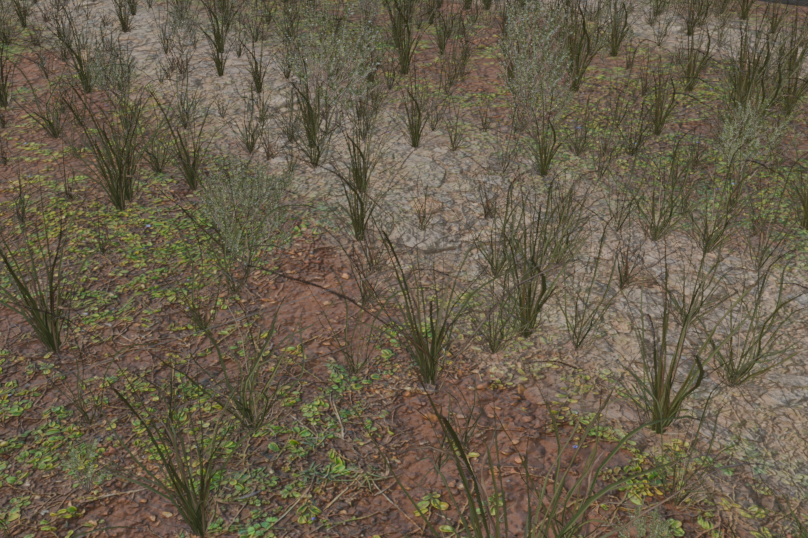
Blender 5.0 added a new modifier, “Scatter on Surface”, which allowed me to designate a collection of models and…scatter them on a surface. I can dial in the density, randomization of placement, and transforms to get a nice distribution of elements on the ground plane. I have a few add-ons that do this, like Arborea or GeoScatter, but Blender’s in-house solution worked great. In the viewport material preview it doesn’t look like much, but from the camera’s angle they layer on top of one another and provide a thick, masking foliage.
Step 3: The Road
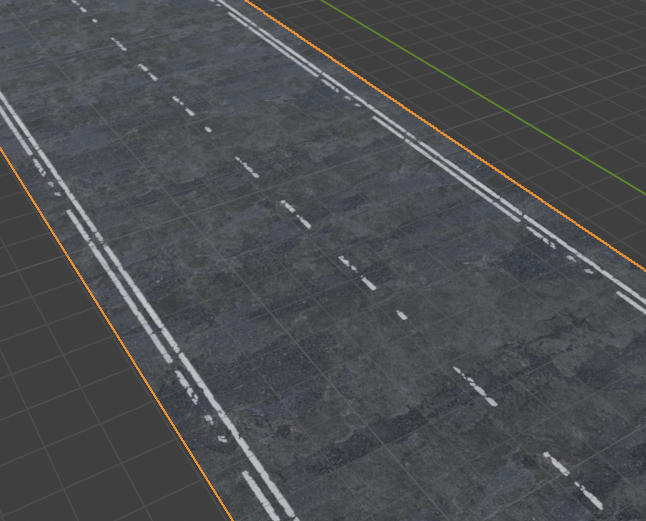
The road is nothing special: just a plane with a road texture applied. The good news is that because the road is meant to be straight I didn’t need anything fancy. I had been trawling SuperHiveMarket for some procedural road construction add-ons, and I might still get one of them during this year’s Black Friday sale, but I didn’t need them for this.
Step 4: Guardrails
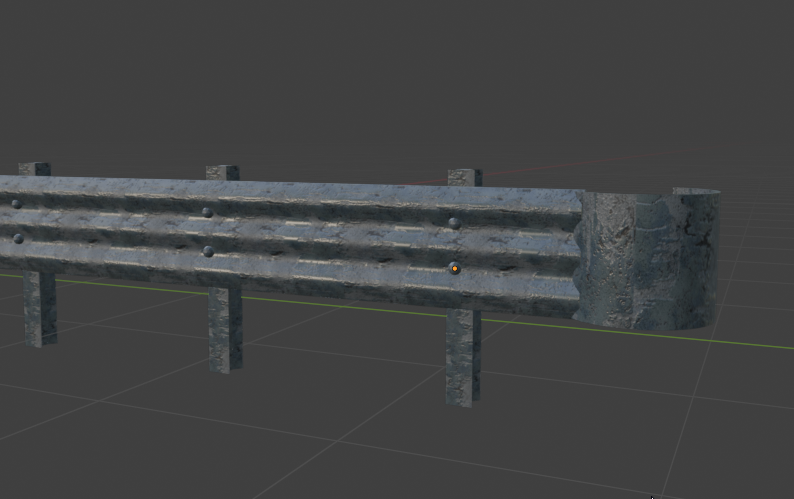
I’m a little loathe to show this close-up because I didn’t spend a lot of time messing with the materials on the guardrails and it looks ugly-ass up close. There’s the corrugated barricade, the steel-beam supports, and those weird half-shell enders on both ends of the structure. I was able to use another Blender 5.0 enhancement, the new Array modifier, and I think this is the best 5.0 update that Blender has added. While I didn’t get to “go nuts” with the modifier, I love that I can now array in a freaking circle without dealing with central empties. The corrugated panels, the supports, and the small icosphere bolts — which were conspicuously absent even at a distance, so I added them — use the Array modifier.
Step 5: Billboard
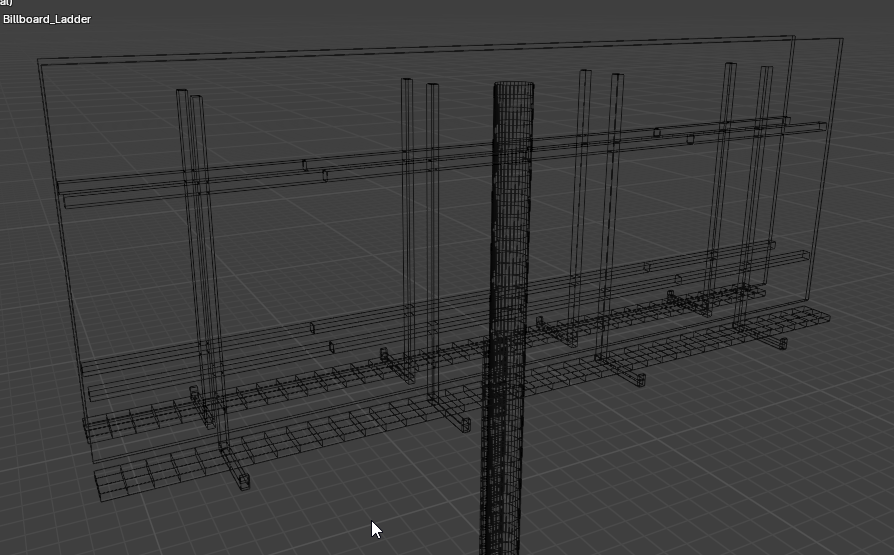
Billboards are deceptively complex. I found a breakdown of a billboard structure from the website of a company that makes them, and I was surprised to discover how much engineering goes into them. Thankfully, I only needed the “seen” parts of the billboard, so I didn’t model all of the sandwiched support structure.
The billboard consists of a central pillar, two “boards”, two catwalks, and several supports that hold up the catwalk. There’s also a ladder on the backside. Both the “L” supports and the ladder use the Array modifier again (freakin’ love that guy!). The “L” supports, the ladder, and the central pillar use the same dulled metal lifted to a light grey color that is often used on billboard supports. The catwalk has a redder, more rusted material which might not come through at the resolution the intro image offers, but know that it’s there!
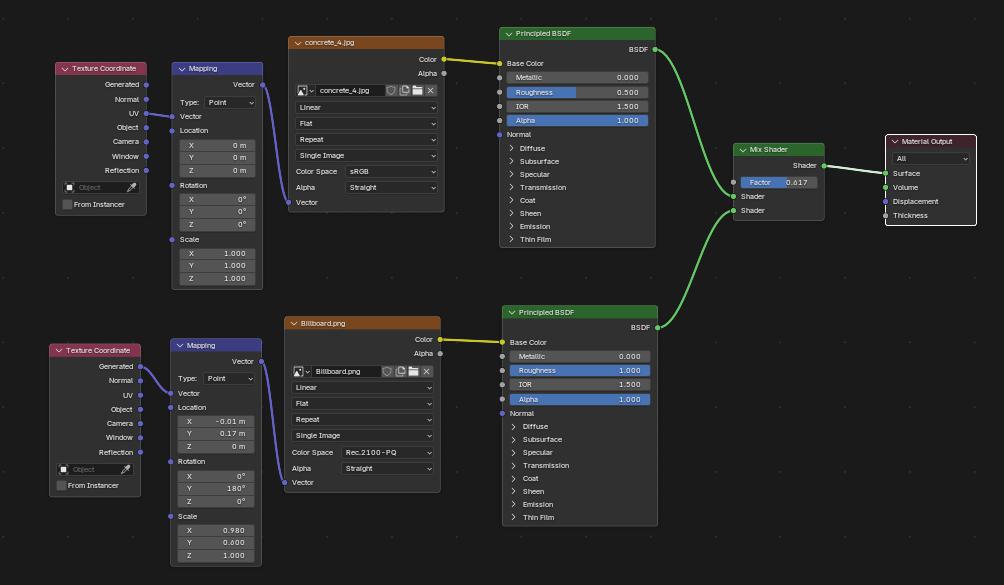
The billboard itself is a plane with an image import texture mixed with a grunge. The image was composited in Affinity. I knew exactly what I wanted for this: a simple message designed by people who didn’t put much thought into the presentation as they believe their message could stand on it’s own: Jesus Can Save You from whatever plagues you.
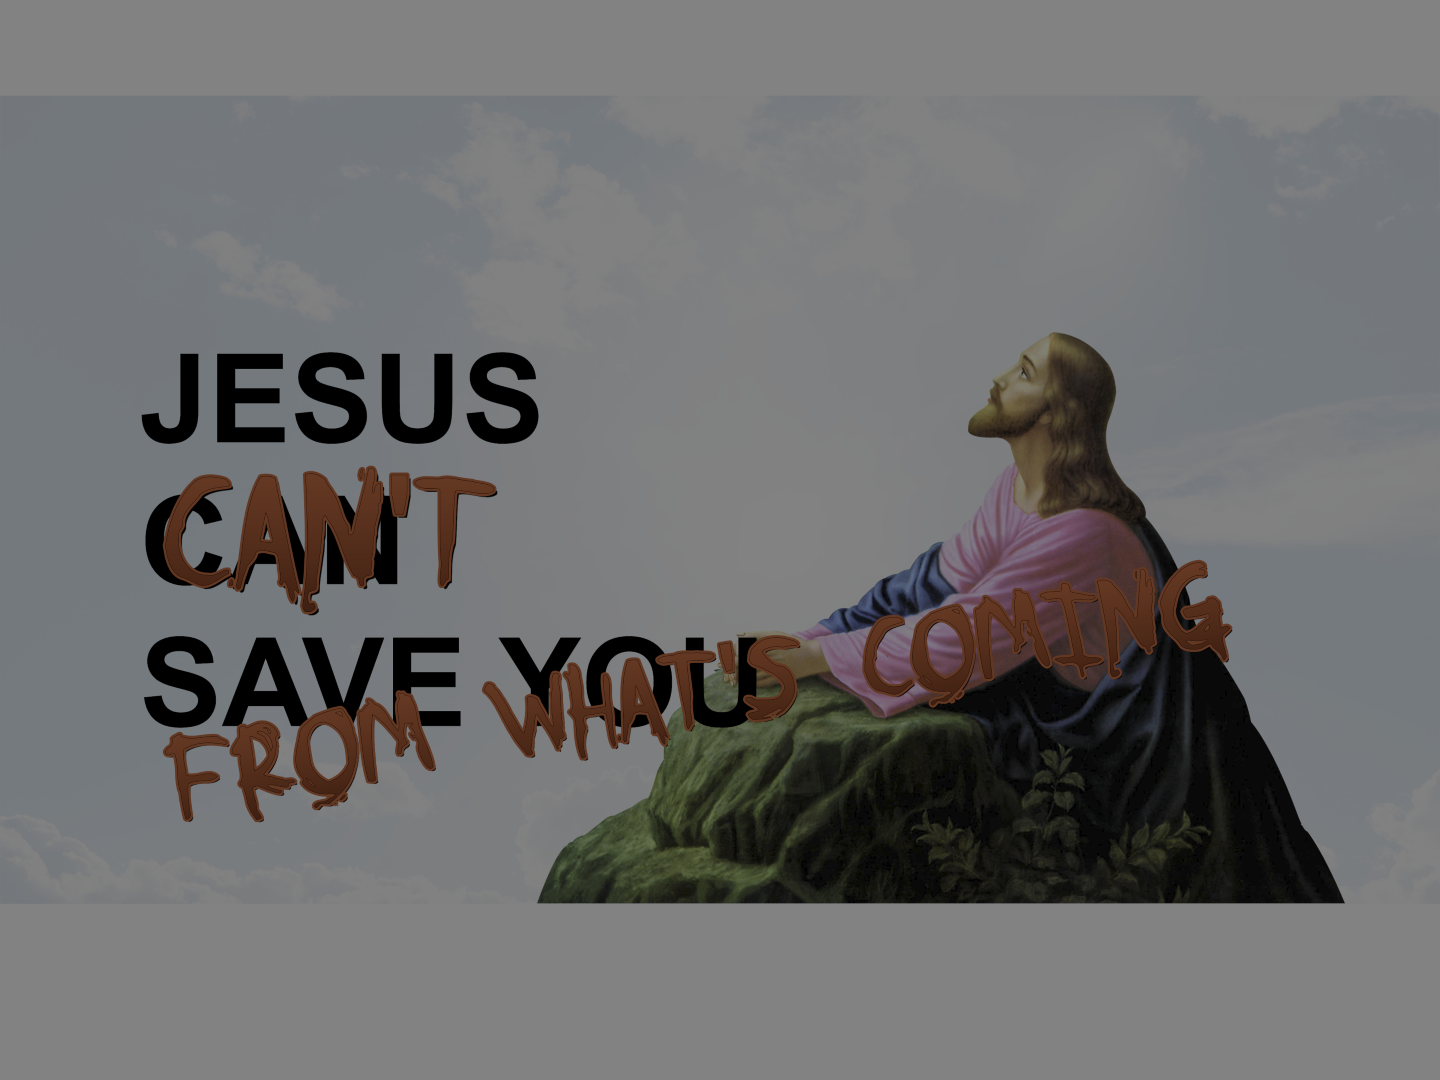
Of course, as this is in the SCP realm, those who Know The Truth must take whatever opportunity they can to refute this assessment, hence the vandalism and unfortunate ending for the vandal. The original application of the image looked just OK, and I realized that it was because it was rendering on a plain white panel and was much too clean and bright. Adding the grunge overlay janked it up enough to suggest that the billboard had been there for quite some time, possibly forgotten, as the road that it sits beside is not well traveled.
Step 6: The Hanged Man
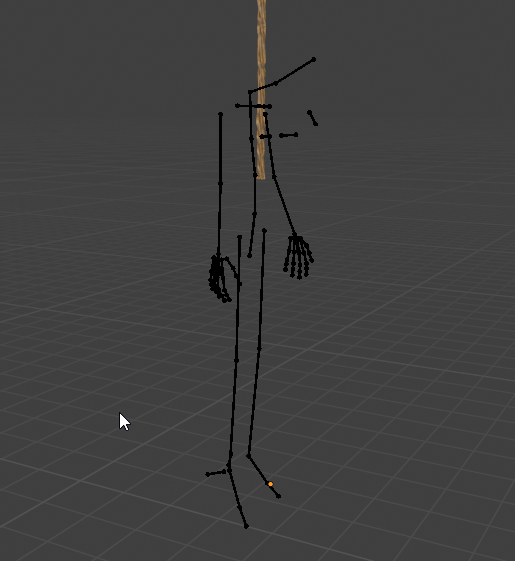
A while back I picked up a Blender add-on bundle which came with a package called HumGen (a lite version, I assume) that lets me create humans by selecting their base (gender appearance, ethnicity, general age, etc), choosing their hair style, and clothing them from a set of attire parts. What I have is limited across all options but since the model would be fairly distant I didn’t feel that it really mattered. The toughest part of this part was changing the pose of the dude, as I have never done figure posing or animation. I read a suggestion to turn on IK modifications and that helped me to rotate all of the parts successfully to provide that hanged posture.
The rope was another 5.0 bonus, “Curve to Tube”. Laying down a Bezier curve and then affecting the depth transform is an age-old Blender method for creating tubes and wires, but in 5.0 we can add a modifier to a curve to do the same thing. It’s a little more intuitive, especially for beginners, as it doesn’t force people to delve into the curve’s data panel to get to the non-intuitive property value that makes the curve into a tube. The tube was then converted to a mesh, and a BlenderKit rope texture was added even though it’d not terribly visible from a distance.
Step 7: The Background
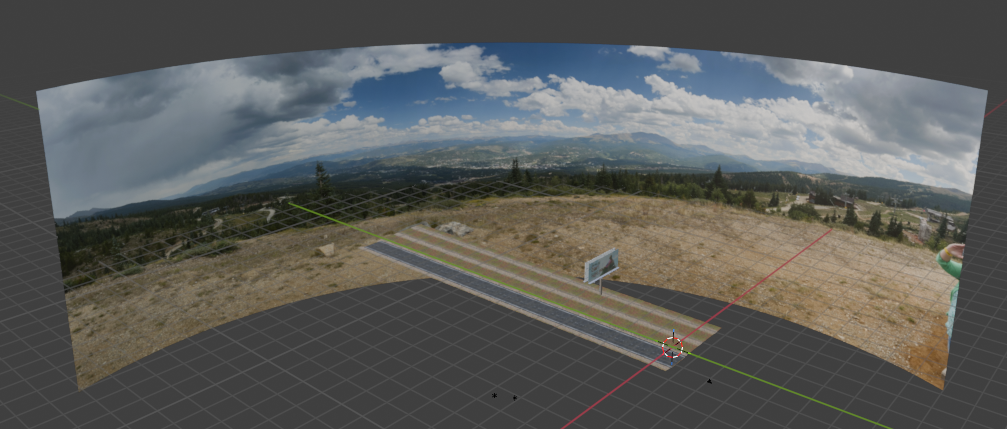
As you might recall from the start of this post I had originally tried to use World Creator to model some distant mountains which was a fools errand because it would have taken too damn long and would probably not have produced a satisfactory result. Thankfully, there’s master modeler Max Hay who turned me on to using an image on a plane, scaled all the way up, as a background which, when suitably composed, is damn near indistinguishable from an actual, modeled background. Because of the camera angle, though, I had to warp the plane to create a slight wrap-around; this had the effect of altering the lighting in the scene, favoring the right side to make it a little brighter. This is not really noticeable, though, as the lighting in the photo controls the perception of the light.
This panoramic photo was taken by me in Breckenridge, CO, a few years back. I knew I had these photos in my gallery, so I built the scene specifically for this photo. You can see my wife’s arm on the right side of the image (but the camera crops it out of the final render!)
Step 8: Lighting
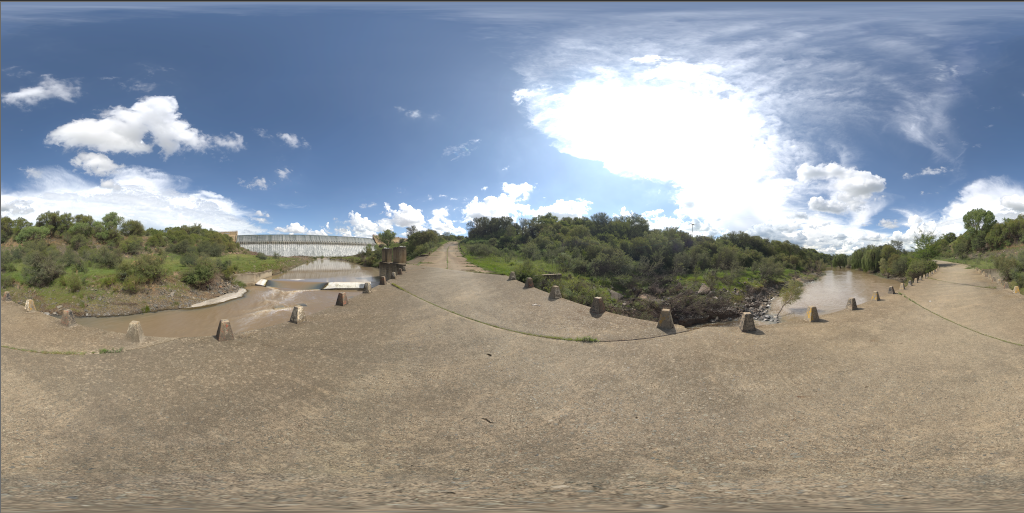
I am happy to say that this scene has zero artificial lighting! As per my last post on the subject, lighting in Blender is the bane of my existence as I can never get added lights to help the render. This scene is lit entirely by an HDRI obtained from PolyHaven!
Conclusion
There you have it! Despite the disturbing imagery, I was able to knock this out in just one day! I’m pretty proud of it, although because it pretty much requires a boilerplate disclaimer, I’m not sure where I can advertise it. I have a few renders that I need to upload to ArtStation, so I’ll look into what options they have for content warnings and such. I was hoping that Star Anvil Studios, makers of the Secret World TTRPG might have some kind of “fun” channel for sharing “works in the spirit of”, but I don’t want to just drop this image on an unsuspecting bunch of strangers, so I’ll probably hold off on that.
Now I’m looking for another scene idea!

2 Comments
Tipa
November 26, 2025 - 9:00 amI thought Jesus couldn’t save me from whales coming 😛 You and Ahab, Jesus. You and Ahab. Though I think Jesus only takes over once you’re dead, so maybe Jesus is cheering on the eldritch horrors. Get ’em up here so I can give ’em what’s coming to ’em!
The finished scene looks utterly real; Blender looks to have as many helpful plugins as Unreal. Really nice!
Scopique
November 26, 2025 - 11:17 am“I think Jesus only takes over once you’re dead”
He drives your body around like a car, or a mech…
Comments are closed.