Scopique
This actually doesn’t have much to do with the tracking aspect, but I wanted to add some info I just learned regarding how to work with differently sized content.
If you read the previous post you’ll recall that the image I was using to replace the green-screen was 3440×1440 while the comp I was looking to place it into was only 1920×1080. The obvious solution of manually resizing the image to 1920×1080 didn’t cut it, so I used a suggestion I found on reddit to compose the image with a background node, merging the results with the video clip that featured the chroma replacement.
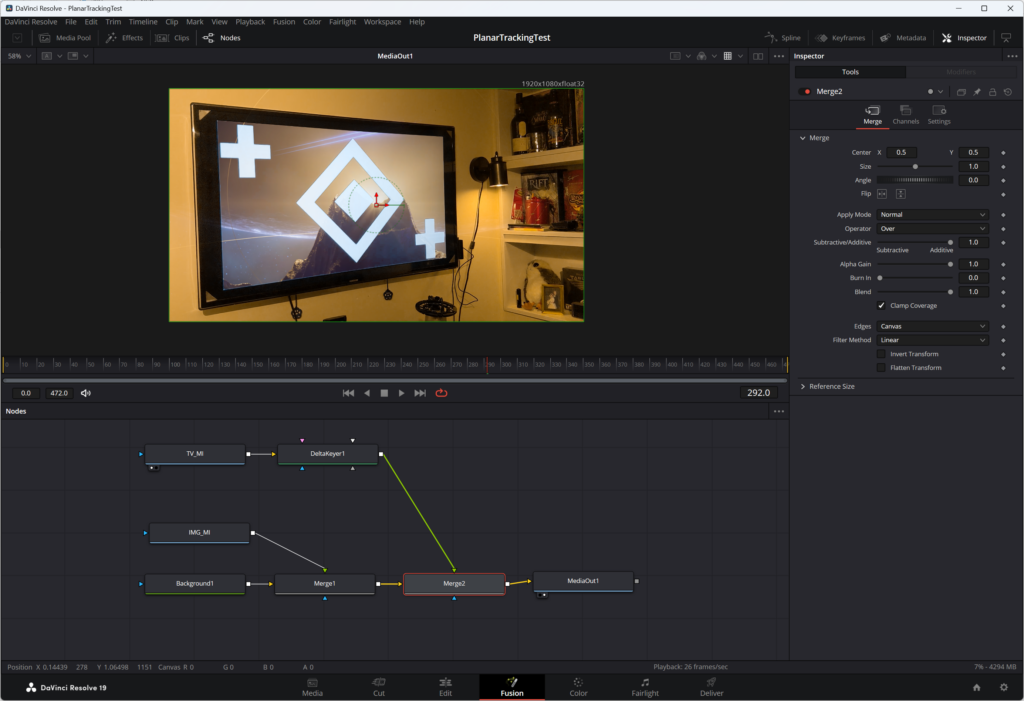
This worked well, but not completely well because the image that was composited is only showing part of the overall image. We are just getting the top of the mountain visible here.
So I was watching YAYTV (Yet Another YouTube Video) on compositing with Fusion, one again from motionVFX, and the last tip that was mentioned was how to work with content of different sizes.
The answer was the “Letterbox” node.
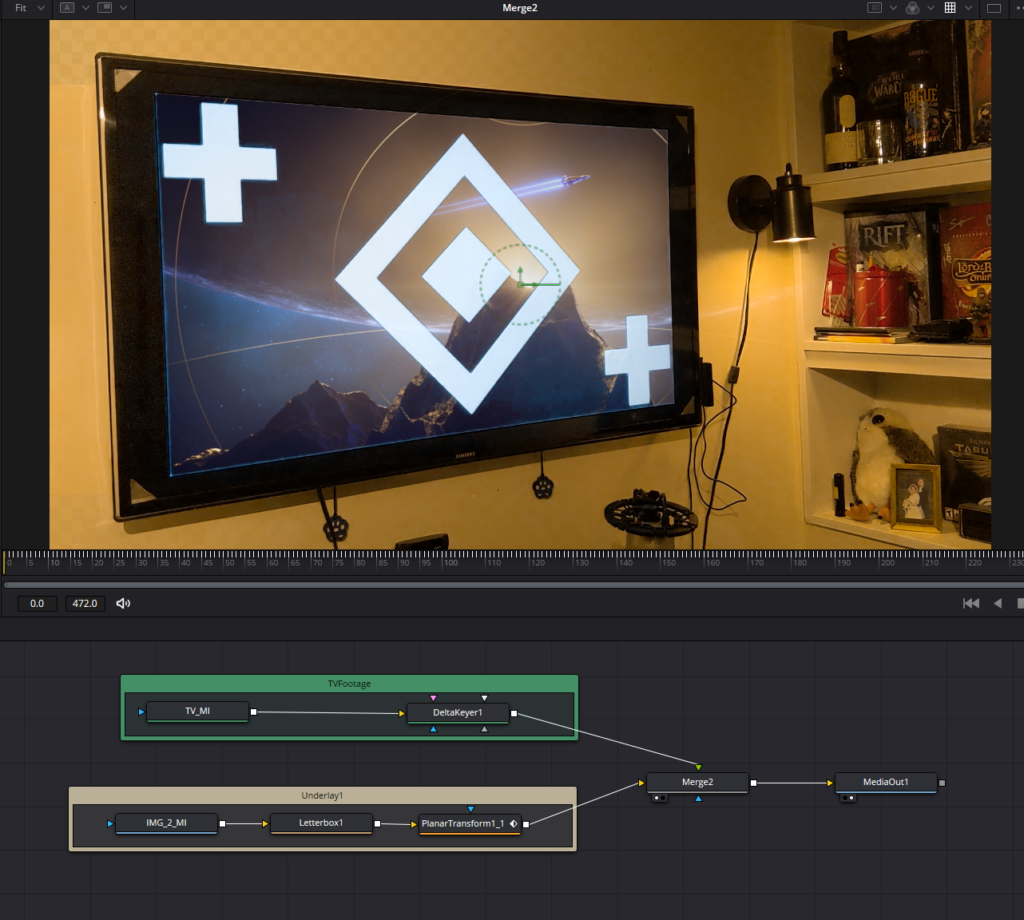
Rather than merge the image with a background node, then merge that merge with the video, the Letterbox node apparently takes the input value and resizes and possible resamples it to the size of the composition, which is effectively what the background-merge-merge method does, but with way fewer confusing steps. Once the letterboxing happens, I connected the “Planar Transform” node to make the image track with the video, and when I merged it with the video, the image actually fits better within the “Delta Keyer” chroma replacement space.